Pages

Tuesday, November 26, 2013

PATCHES & PIECES

This month's quilt is a simple but timeless 25 patch.  I view it as a reminder of the beauty that can be found in the simple things in life.  Hope you like it!

Just a note - trim the selvage's carefully - especially when cutting the sashing strips.  You need to get 4) 10 1/2 inch pieces from each 42 inch strip. 

Follow the directions to cut the needed pieces.

Begin by sewing the 2 1/2 inch strips into sets.  Set A will be a coral, yellow, coral, yellow, coral as seen in the bottom half of the photo below.  Create 4 sets.


Set B will be yellow, coral, yellow, coral, yellow.  As seen in the top half of the photo.  Create 3 of these sets.  Press all fabric toward the coral.

Sub cut these into 2 1/2 inch sections as seen below.


Cut 60 from set A and 40 from set B.

Sew 5 strips together starting with a set A and alternating with a set B to form the 25 patches.


Create 20 - twenty five patches.


Sew a sashing strip between four of the twenty five patch blocks.  Do not sew one on the ends.


Create 5 rows of sashed blocks.

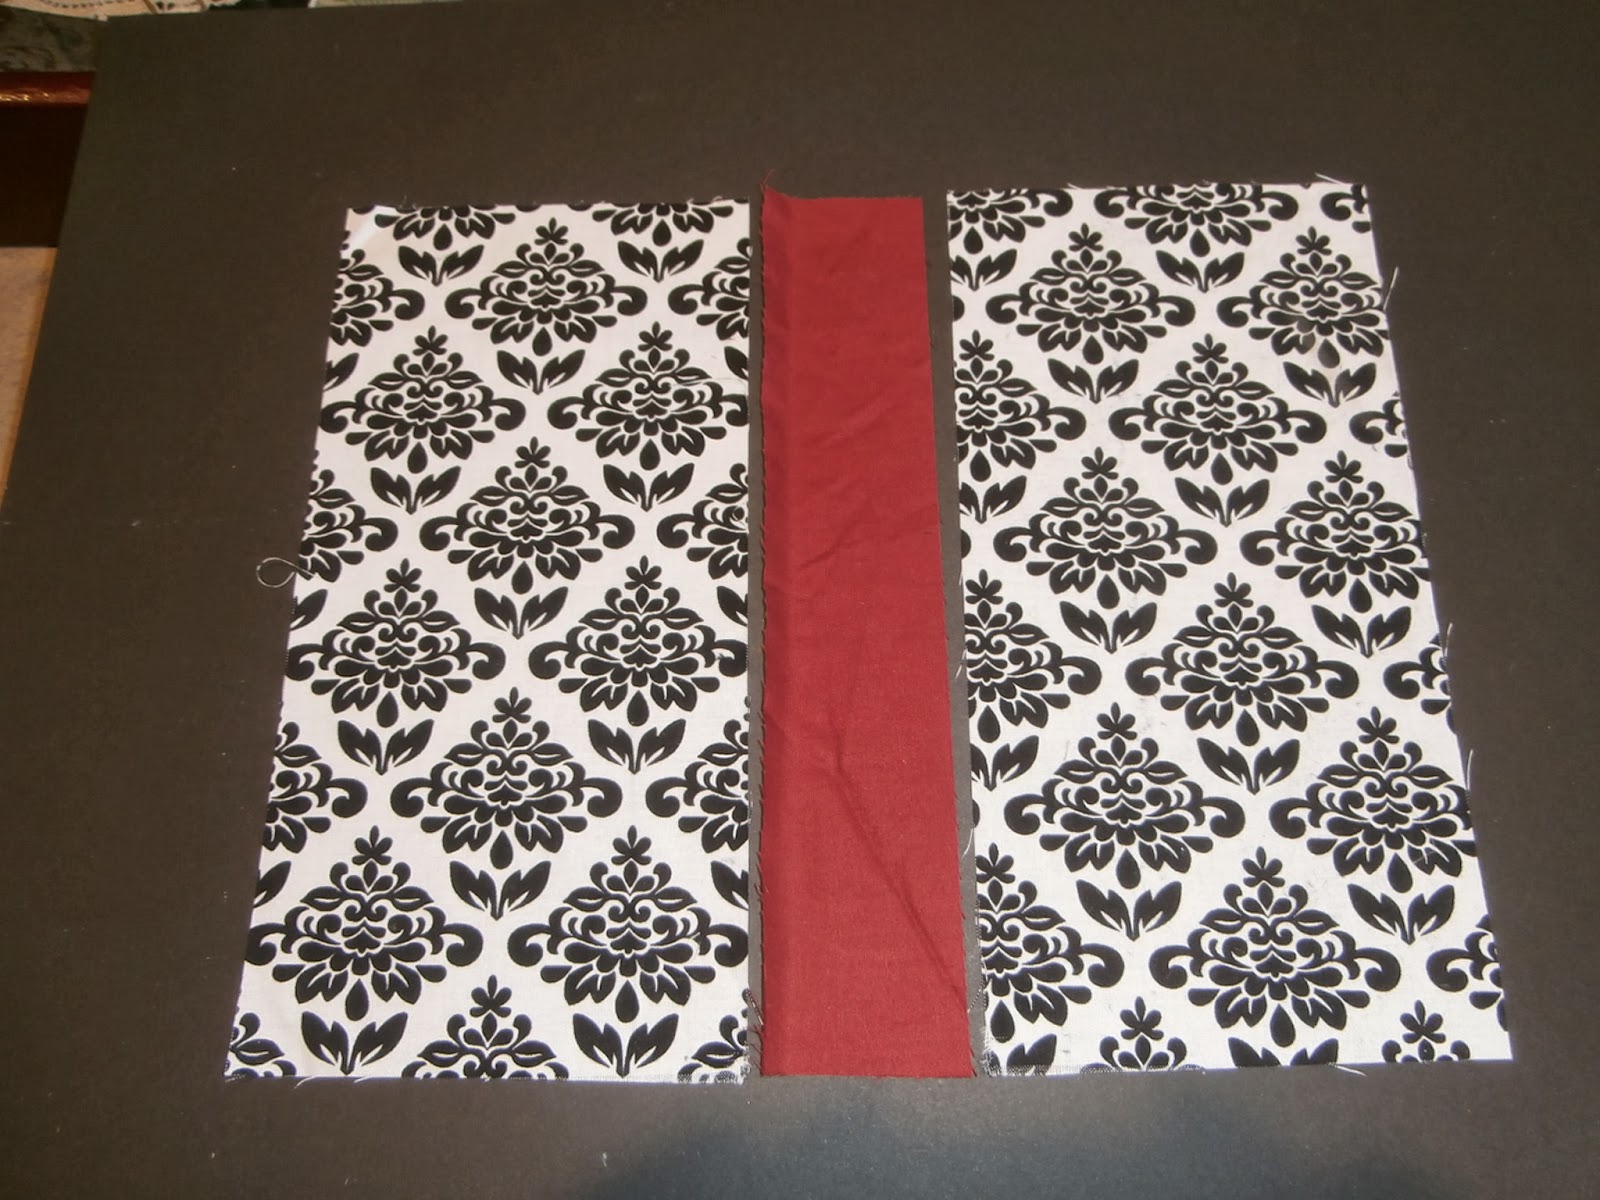
Sew a blue cornerstone between 4 of the sashing pieces as shown below.


Create 4 sashing rows.  Sew these rows between the five block rows.

Sew the 2 1/2 inch first border all around the quilt.  Sew on the final borders.  Quilt as desired.  Bind and enjoy!


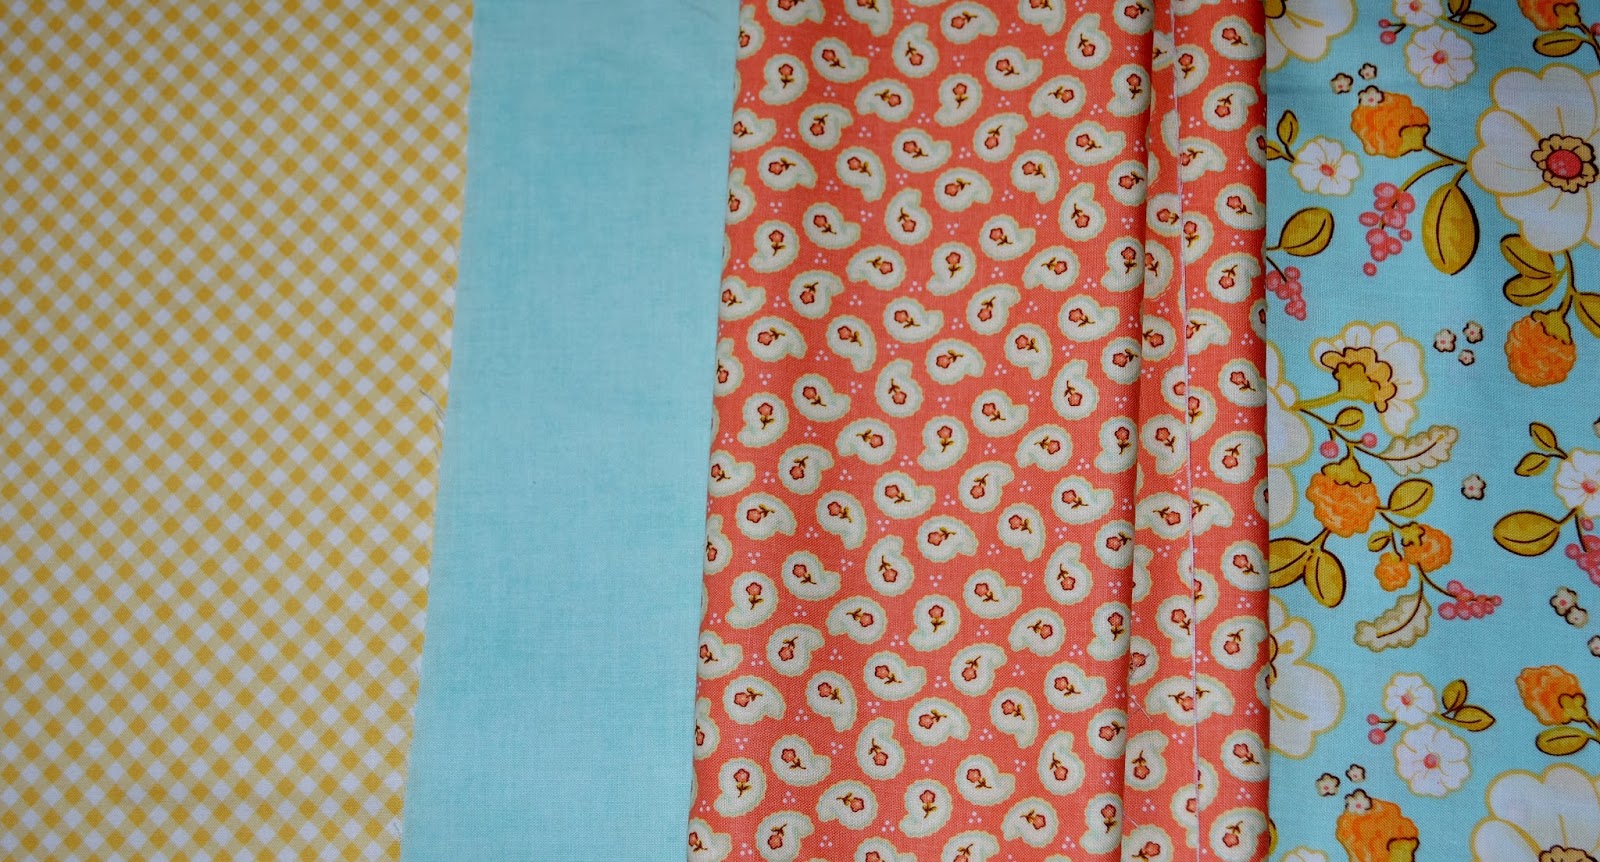
Thanks for participating in our mystery quilt program.  We are planning on using fabrics from the Cruiser Boulevard line for the December quilt.  See the representation below.


Because of the holidays we will be doing the December mystery quilt on December 17th.


Friday, November 22, 2013

November mystery quilt fabrics

Better late than never, right?

We finally got the fabric for November's mystery quilt.  Becky is cutting and sewing as I am typing.  Not to give the pattern away but she has planned a very traditional quilt using just four fabrics from Riley Blake's Calliope collection.  The fabrics are shown below.


It will be another beautiful quilt and space is available.  Give us a call at 801-465-9133!

Friday, November 1, 2013

All Wrapped Up!

We love the way this one turned out - and it's quick and easy!
 
Have fun.
 
To create the flying geese bows, draw a diagonal line on the wrong side of the 5 1/2 inch grey squares. (The printed instructions said red or green square - they should say grey.)   Center a 5 1/2 inch square in the middle of a 7 inch red or green square with the right sides facing each other. 


Sew 1/4 inch on each side of the line.  Cut on the line.


Press seams toward the larger triangle.


Place the two pressed halves right sides together with the outside edges aligned and the opposite fabrics touching.  Draw a diagonal line from corner to corner - perpendicular to the seams.  Sew
1/4 inch on each side of the line. 


Cut on the line.  Make a small snip in the seam allowance halfway between the two seams.  This allows you to press in opposite directions. 
 
I just dropped our camera and broke it or I would take another photo to illustrate this step - sorry.
 
 Press the block.  Square the flying gees to 2 1/2 x 4 1/2 inches.  We love the Quilt in a Day flying geese rulers for this.  For this project you will need the 2 x 4 inch (finished size) flying geese ruler.
 
 
The Quilt in a Day folks have done a wonderful tutorial on the whole flying geese process.  You can find it with the following link.  www.quiltinaday.com/Rulerinstructions/MiniRulerBook.pdf . 
 
Repeat the process to create eight red flying geese and eight green flying geese.  You've got the hardest part done!
 
Sew a grey 2 1/2 x 3 3/4 inch grey rectangle to both ends of the flying geese.


Create the packages by sewing  2 x 10 inch red or green strip between matching 5 x 10 inch package rectangles. 


Sew a flying geese bow unit to the top of a package block.


Repeat to create a total of 16 packages, eight with green ribbon and eight with red ribbon.
 
Arrange the packages into 4 rows with 4 packages in each row.  Sew a 2 x 12 inch sashing between each of the blocks in the row.


I chose to use corner stones sewn into the horizontal sashing to make it a little easier to keep all of the blocks aligned properly.  Sew three of the 2 inch squares between four of the 2 x 11 inch sashing strips.  Create three strips and sew between the package rows aligning the corner stones with the vertical sashing pieces. 
 
Sew the 2 inch gray strips all around the quilt. 
 
Sew the 4 inch border strips to both sides.
 
Sew the 7" border strips to the top and bottom of the quilt.
 
Layer with the back and batting and quilt as desired.
 
Bind and enjoy!
 
 
We haven't decided on the fabrics for the November mystery quilt yet.  We will post them as soon as we do so check back.  Thanks.
 
 
If you are in the area, please join us for our Holiday Framing Open House on November 8th (10 - 6) and 9th (10 - 4).  All custom framing orders placed during the open house will receive a 20% discount.
 
Like quilts, Custom framing makes a wonderful, personalized gift.


Just a little "heads up"

The BYU film department is busy transforming our little main street into a movie set.  The street is closed to auto traffic but they assured us there will be minimal interruption of foot traffic for the next few days.  This will affect those of you coming to block party tomorrow morning.  You may want to park in back of the city library and walk through the breezeway.  Sorry for the inconvenience. 

Tomorrow we will be working on "the snowman in the yard" block.  Here is a color photo to help with placement.  Have a great day!


We are working on the October mystery quilt tutorial.  It should be posted later today.