Pages

Thursday, September 27, 2012

The Wedding


So several of you, I'm sure, have been on pins and needles anxiously awaiting the day I post photos of the wedding.  Well here you go.

I think the wreath has such an elegant feel to it.  I made it from the pages of old books and pearl beads.  They are simply hot glued to a Styrofoam wreath foundation and hung on an old door. Here is a link for a tutorial on how to do them. http://enchantedrosestudio.blogspot.com/2012_03_01_archive.html

So making the wreath got me thinking... I have fabric,... what would one look like out of fabric. Thus, the bridal bouquet was born.  And the bridesmaid's bouquets as well.  Our daughter loves Pride and Prejudice.  All of the paper roses in her bouquet came from an old copy of her favorite book. 


The door we did with ancestors wedding photos.
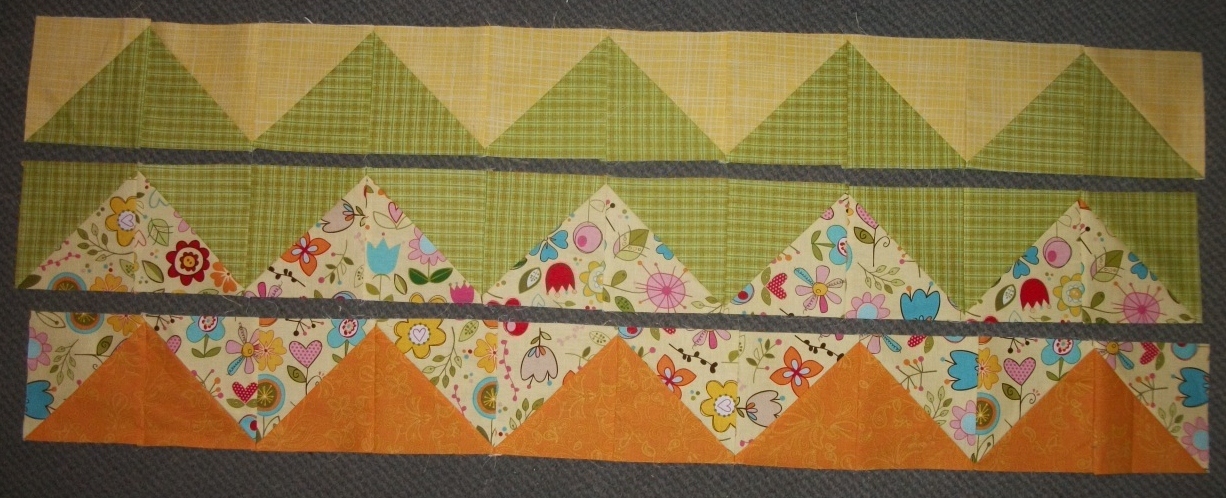
 
 
Her Wedding Quilt


More Paper roses


Paper roses with candle center pieces.
 

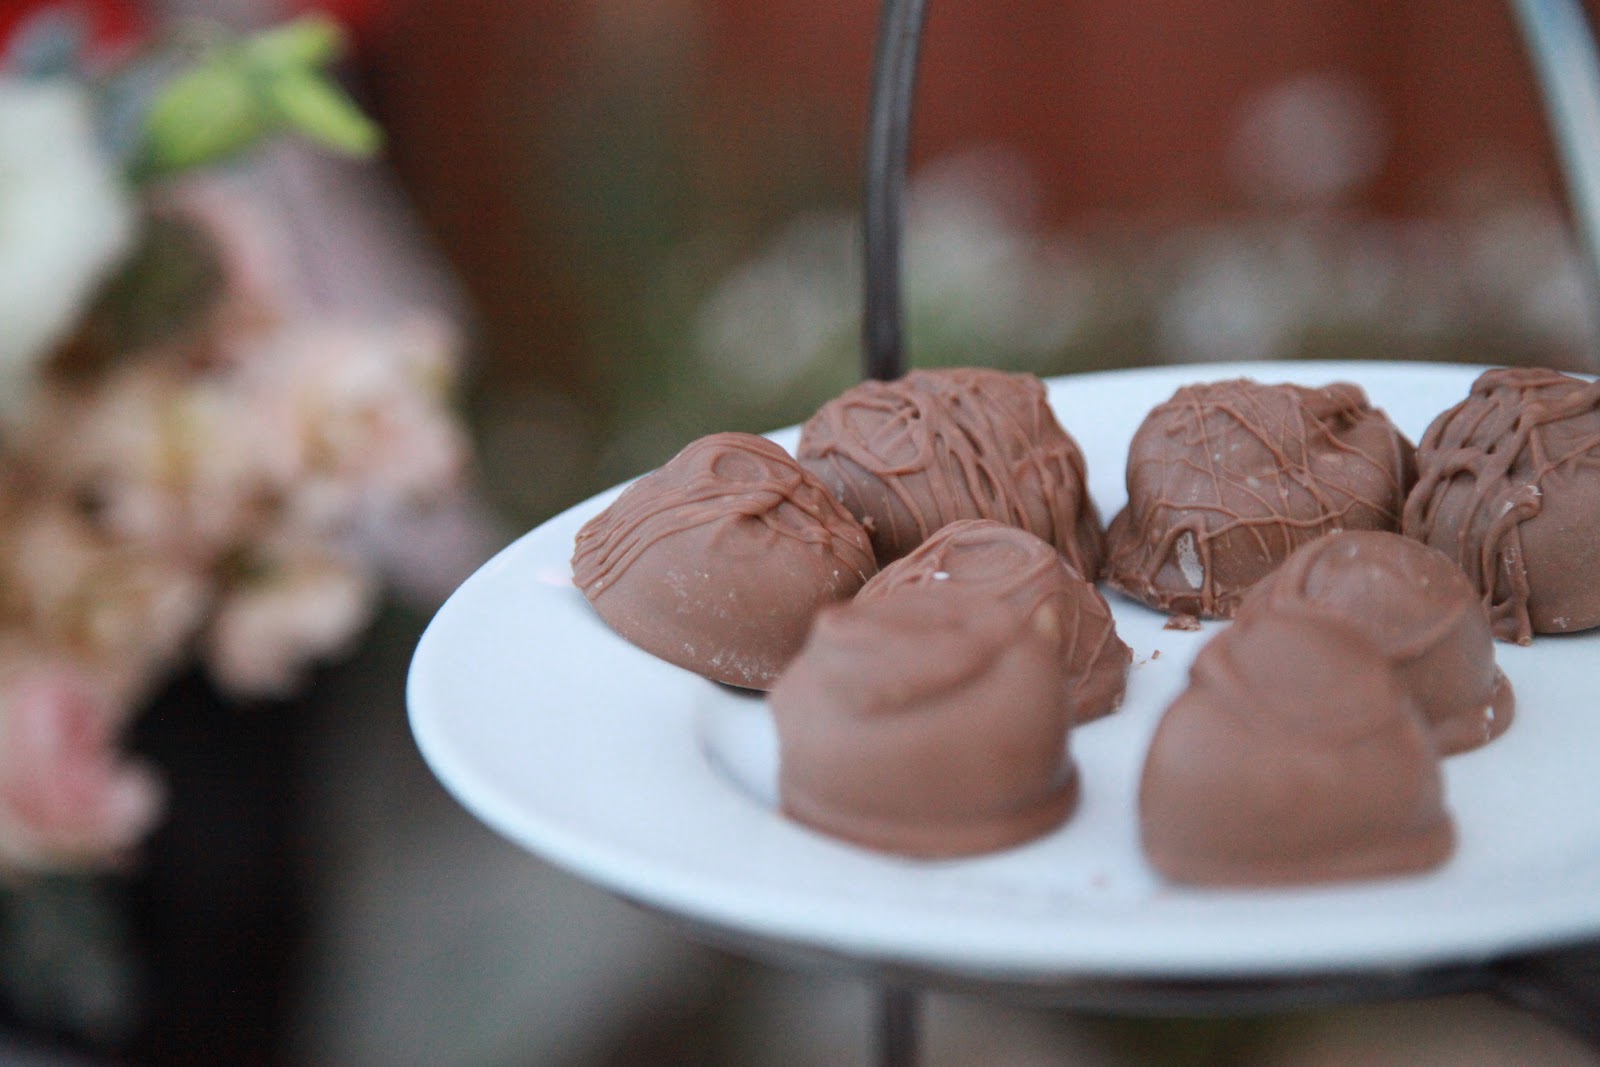
We had so much help from friends and family - especially with the food. 
It was as good as it looks.


You've got to have some fresh flowers at a wedding.  We chose to add a couple of arrangements to the buffet table.  Aren't they beautiful?


My brother in law was kind enough to hook up the horse and carriage to help shuttle folks back and forth from their cars.  The wagon ride was enjoyed by many and added a bit of fun to the evening.


Another brother in law was kind enough to let us use his back yard for the reception.  He is a natural green thumb.  The whole yard was perfect for the event.


Our two sons and a friend spent the whole night making Italian sodas for the guests.  They had a good time.  The soda bar added another element of fun to the evening.


And Yes I even made the ties.
 
All in all it was a wonderful day.  We haven't even looked at the disk with all of the photos at the temple yet.  We are looking forward to more but we'll call it good for this blog.  We are so grateful to all of our friends and family who contributed so much to make it such a wonderful day. 
 
The new couple is doing well.
 
Thanks!


Wednesday, September 26, 2012

We have a winner!

We have a winner of the mystery quilt kit give away from the Springtime in the Rockies blog tour.

The winner is........drum rolls

.....Busy Stitches!

Congratulations.   Please contact us so we can get your shipping info.

We will draw later this week to determine the winner of the book.

Thanks for all of your comments,
Rebecca

Tuesday, September 25, 2012

Rainbow Ribbons


I have a hard time dealing with how fast the months are flying by.  Didn't we just post a mystery quilt tutorial yesterday?
 
Anyway,  This months mystery quilt is a pretty fun simple quilt to make.  You just need to be aware of color placement to make sure it works out well.
 
From each of the 12 coordinating prints cut 10 - six inch squares.  Sort each fabric into two groups of 5 squares.  Pair each group of five squares with a different group.  Be careful not to match the same fabrics twice. 
 
Place the paired squares right sides together with the edges aligned.  Draw a diagonal line from corner to corner on the back of one of the squares.  Sew ¼ inch on each side of the line.  Cut on the line.  Square the blocks to 5 1/2 inches.


Trim the excess corner points and press toward the darker fabric.  You will have 10 – half square triangle blocks.  Sew the ten half square triangles together to form a row. 


The next row needs to match the peaks of the first row.   Create the half square triangles as explained above.  Position the angles to complete the chevron formation from the first row. 


 Continue this process to complete 12 rows.  Press the seams in alternating directions from row to row and sew the rows together.  Sew the 1 ½ inch first border to the quilt.  Add the 3 ½ inch final border.
 
 
The appliqued flower is optional but I think it adds a fun, whimsical touch.  If you choose to add the flower it is actually pretty simple.  We used the preprinted fusible interfacing by Quiltsmart. 

Sew the right side of the fabric to the fusible side of the interfacing.  Sew on the solid line.

Trim on the dotted line.


Cut a small slit in the interfacing.


Turn the petal right side out.  You can use a bodkin to help poke out any stubborn corners.  Be careful not to poke through the interfacing.


You will need to create 6 flower petals.

Create the center of the flower by tracing a circle (a small drinking glass is about the right size) onto the non fusible side of leftover interfacing.  Create the center following the method used for the petals.

Position the petals and flower center on the quilt as desired.  Fuse in place with a hot iron.  (Steam helps.)  Stitch to secure.


Quilt as desired.  Bind and enjoy!


Here is a peek at October's mystery quilt fabrics.  Black and whites with a little green popping through.  It's gonna be fun!


Saturday, September 22, 2012

Springtime in the Rockies blog tour


Buy it HERE!!! :)
Welcome!

I hope you are enjoying the blog tour for Springtime in the Rockies

I am honored that Konda asked me to participate.  It truly is exciting to see the work of so many talented designers together in print.

I love how Over the Garden Wall turned out.  It is fun to work with all color palettes but I really love the soft pastels as they blend together in this quilt.  It would also be beautiful  in earthy country tones or even black and white and reds.

Oh,  I think I've just added a few more quilts to my list of to dos.


Anyway,  if you would like a chance to have a book for free please leave a comment!  We will pick a winner from the comments on Sept. 27th.

Become a follower of my blog and we will enter you to win one of our mystery quilt kits.  Check out some of my previous blogs - they contain tutorials for past mystery quilts we have done.  Become a follower before next Tuesday, Sept. 25th and you could win!

Be sure to check out all of the stops on the tour.  The schedule is below.

Good luck and have fun!


Sept 19 - Kansas City Star http://www.pickledish.com/
Sept 20 - Amy Smart http://www.diaryofaquilter.com/
Sept 21 - April Mazzoleni http://aprilmaedesigns.com/
Sept 22 - Becky Morganson http://stitchesandsewforth.blogspot.com/
Sept 24 - Karlene Riggs http://karleneskreation.blogspot.com/
Sept 27 - Konda Luckau http://moosequilts.blogspot.com

Friday, September 21, 2012

Letters to my Daughter

We finally got the borders on our Letters to My Daughter block party quilt.  We are so pleased with the way it turned out.   Here is a photo of the quilt.


For those of you who are doing the quilt with us - we do have some finishing kits available to finish the quilt as you see here.  This version measures about 101 x 101 inches. 

Session four is tomorrow.  We'll see you then.  We will be doing a churndash block.  See the photo below.


Happy sewing!

Saturday, September 8, 2012

Baskets bearing gifts

For those who requested, here is a photo of today's block from the Letters to my Daughter series. 
Hope it helps.  Have fun!